Table of contents:
- Introduction, desktop and application menu
- Notification panel and settings
- Trust
- Wi-Fi
- PC connection
- Transferring a phone book
- Pre-installed applications
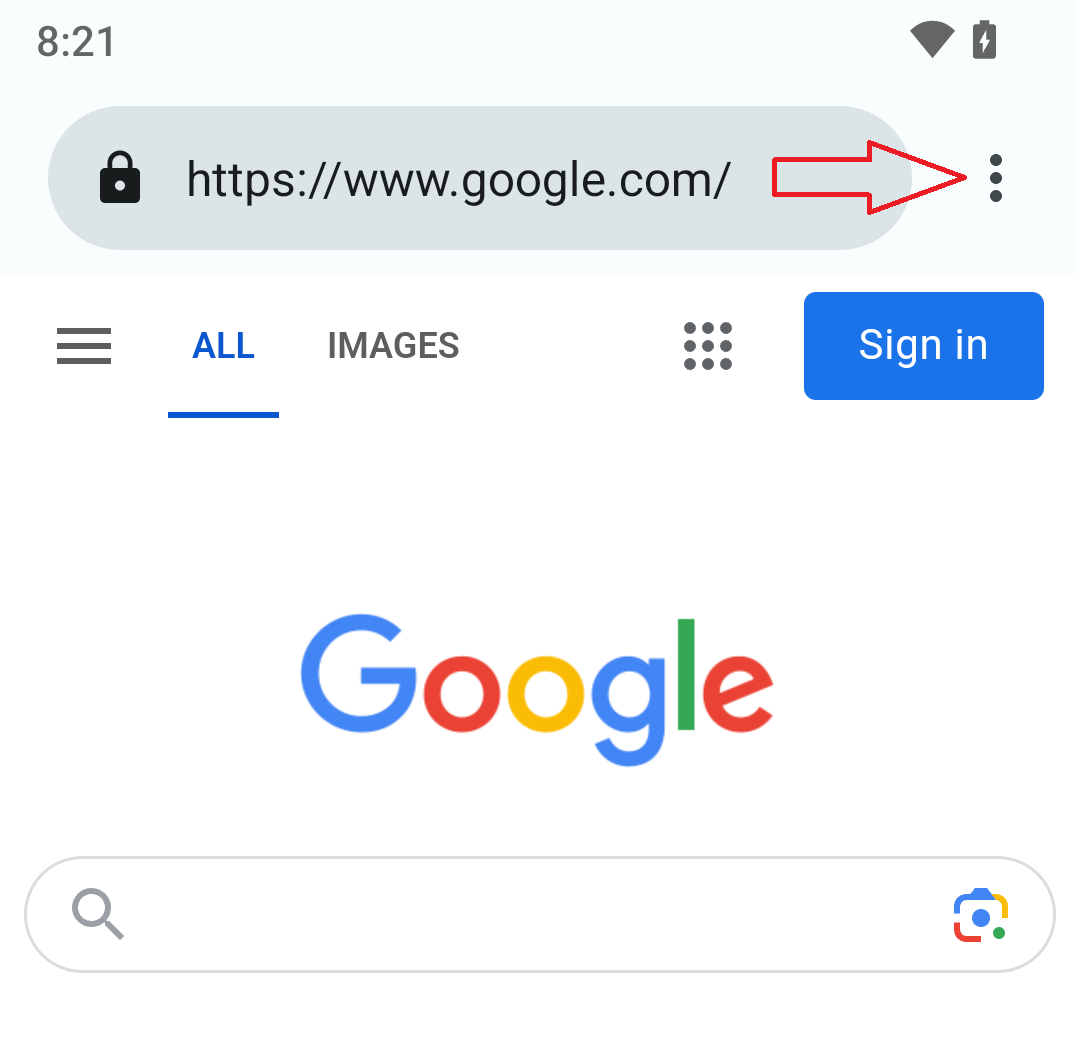
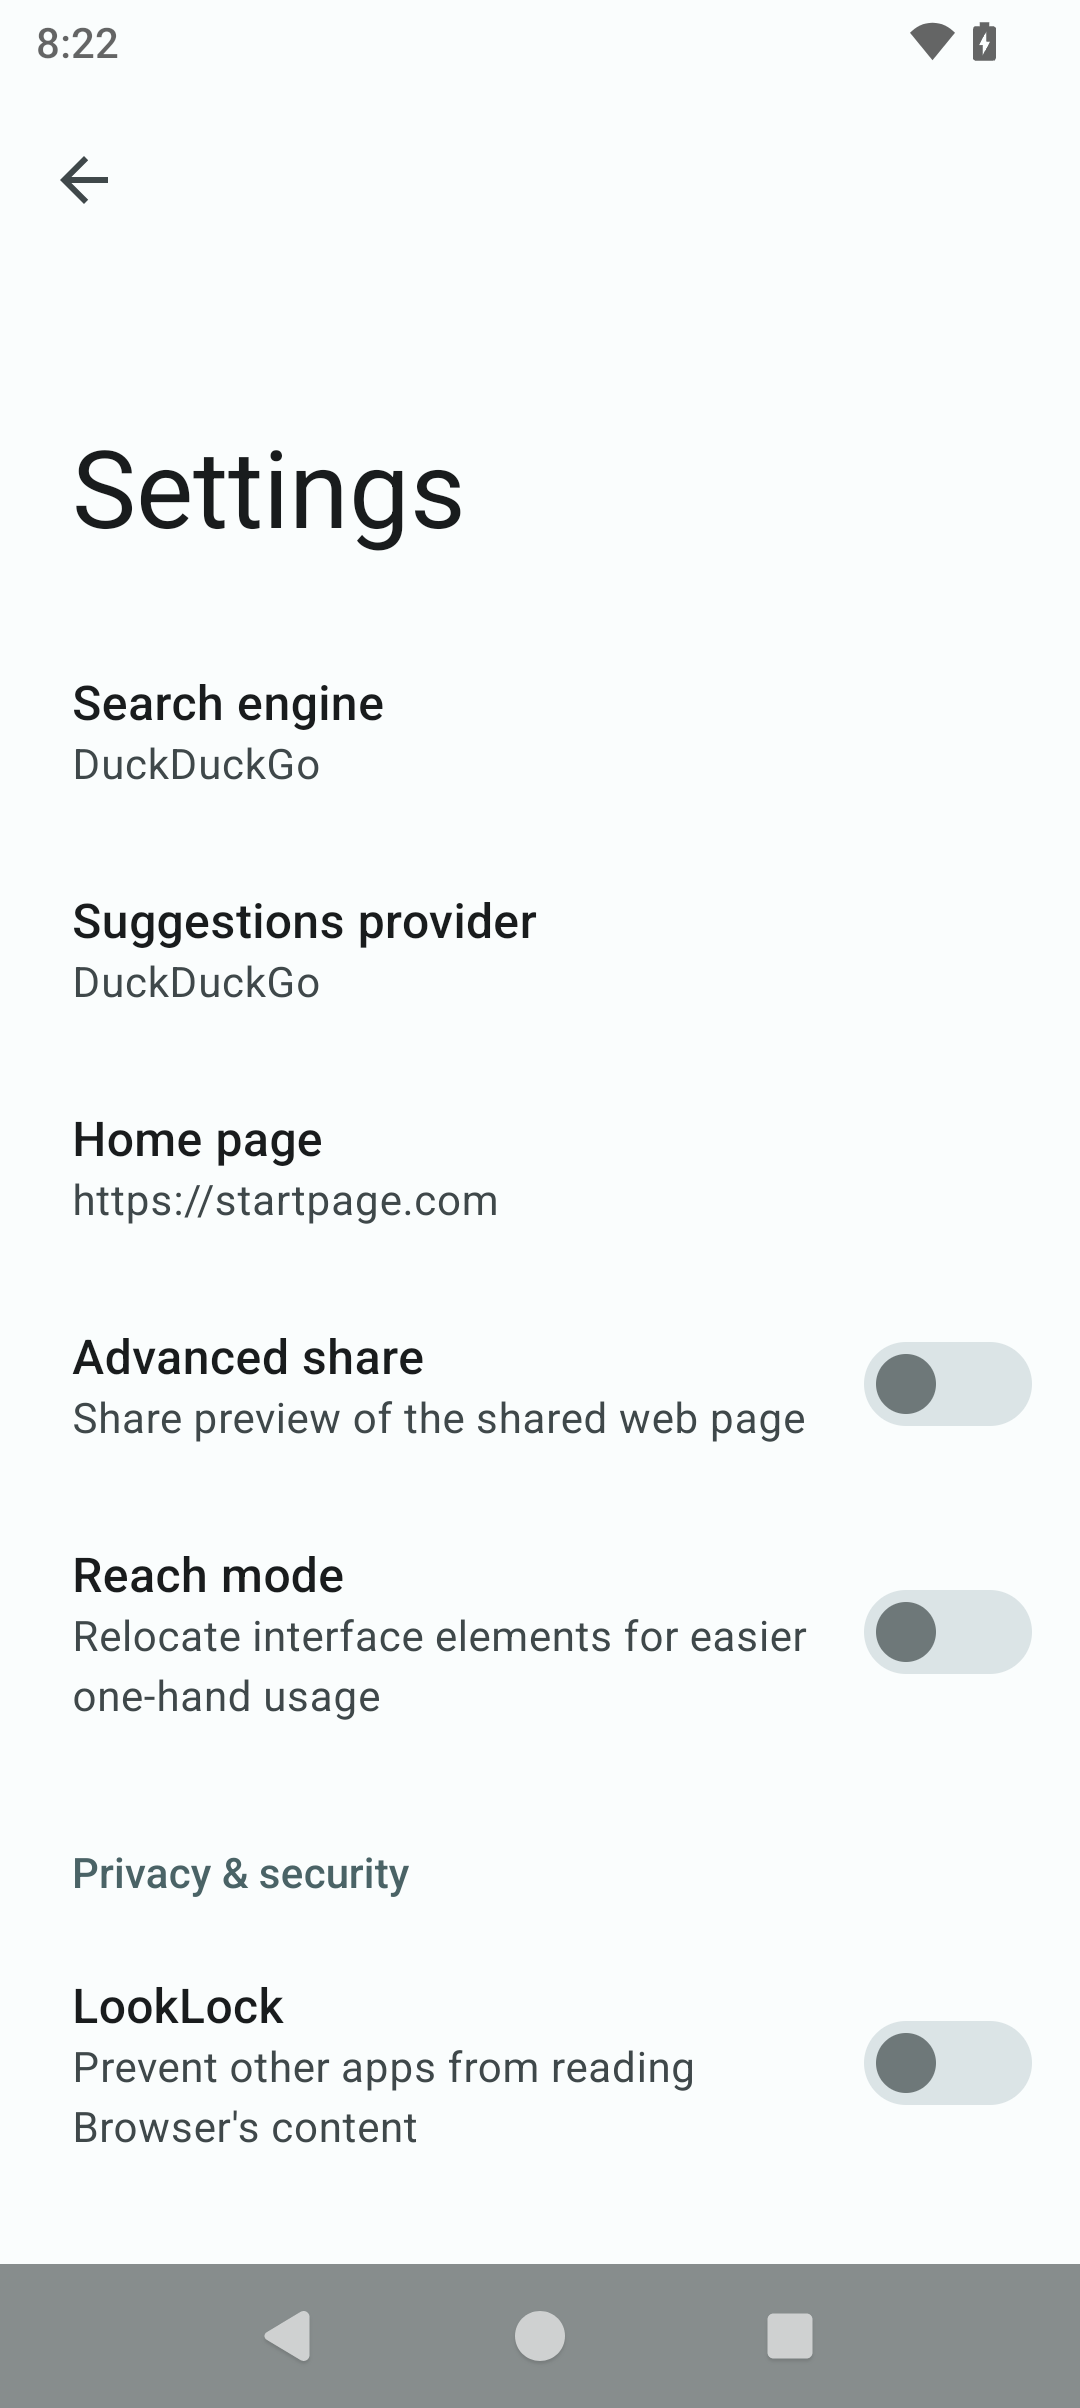
- Jelly browser
- K-9 Mail
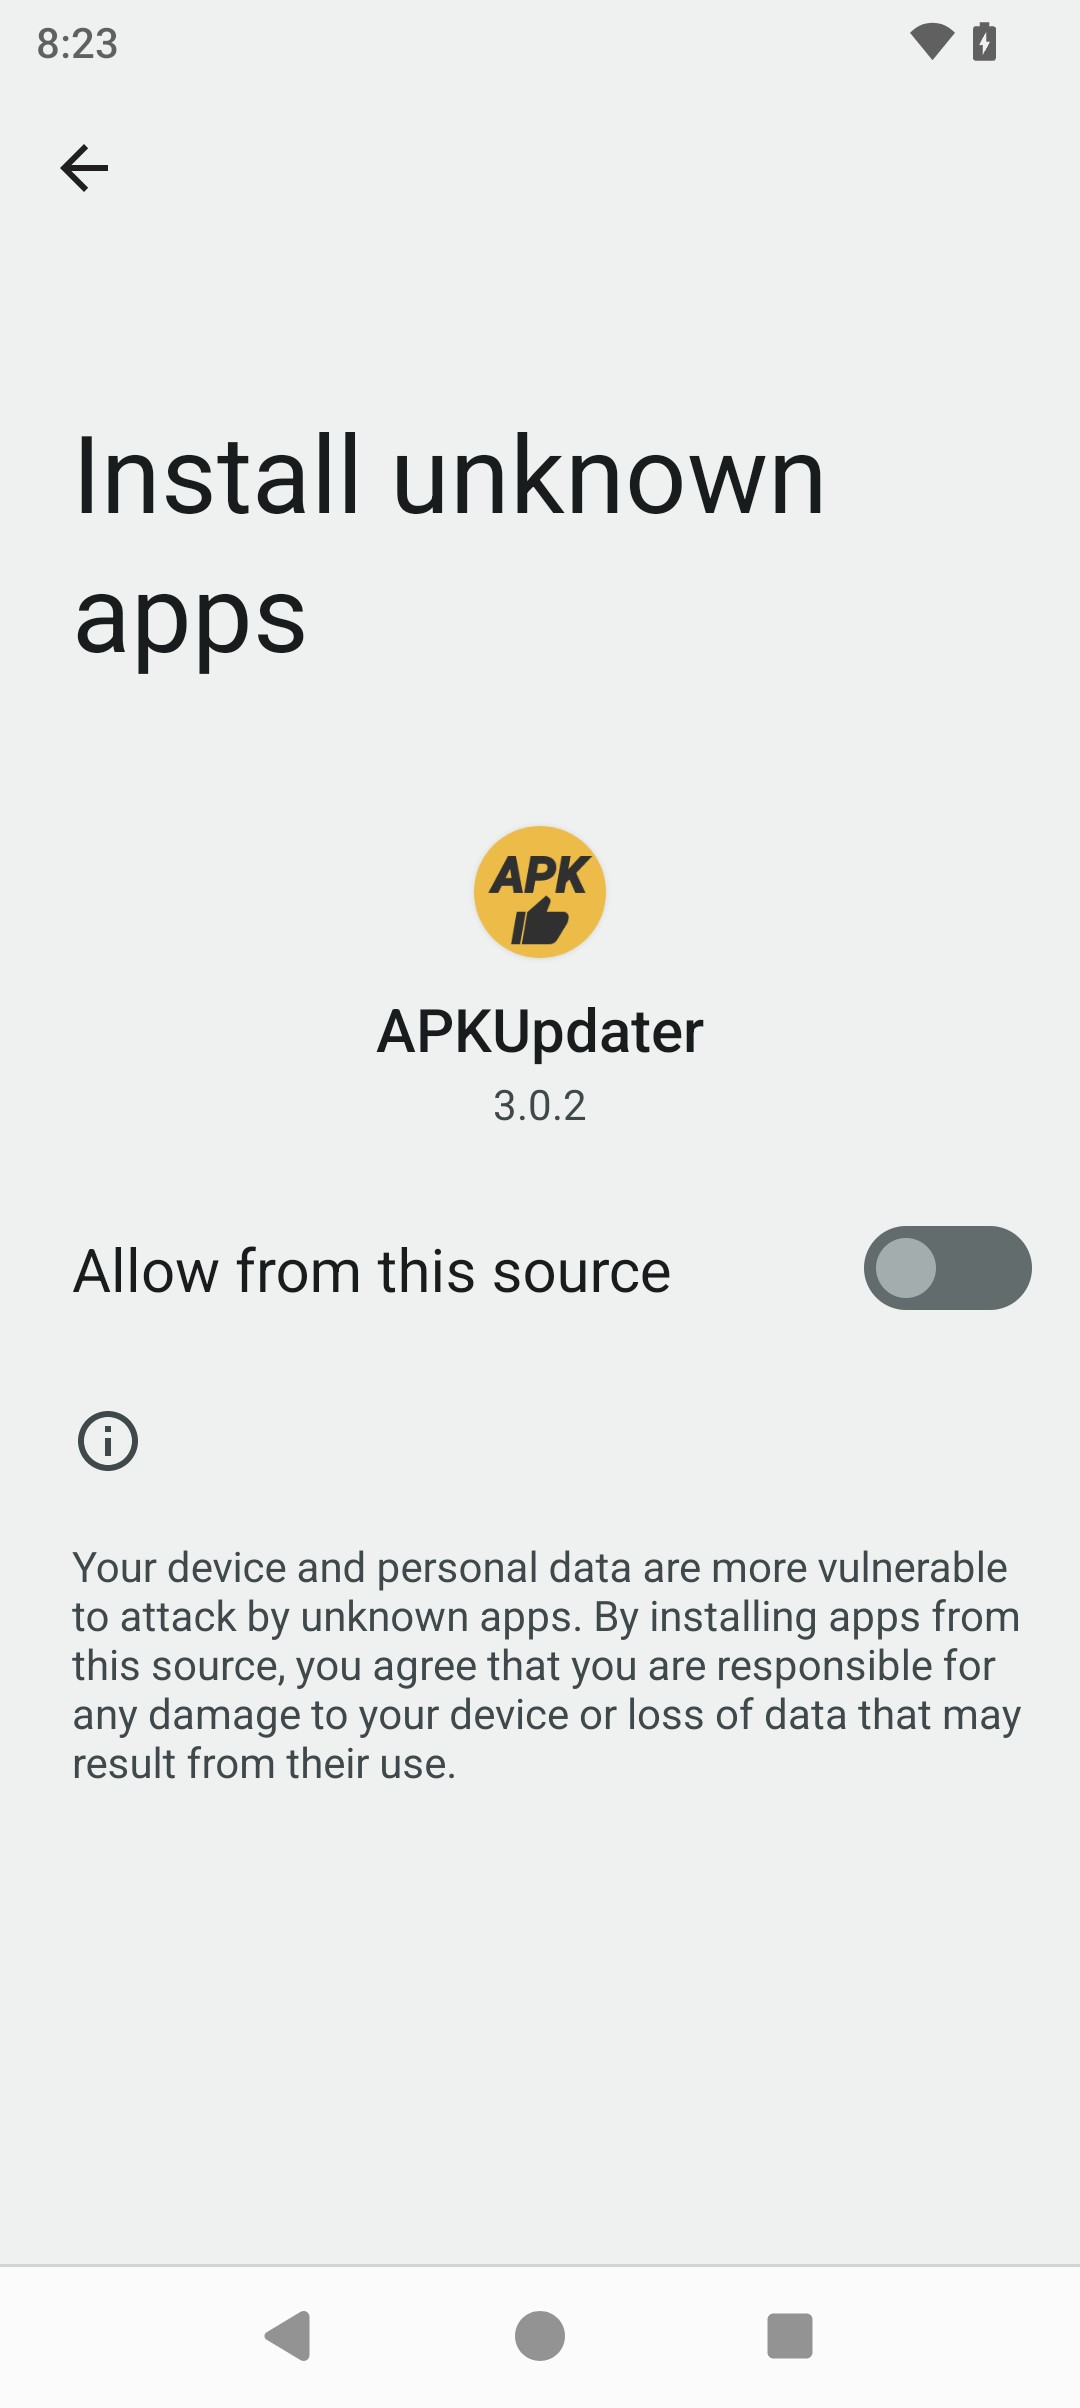
- Installing applications
- APK Updater
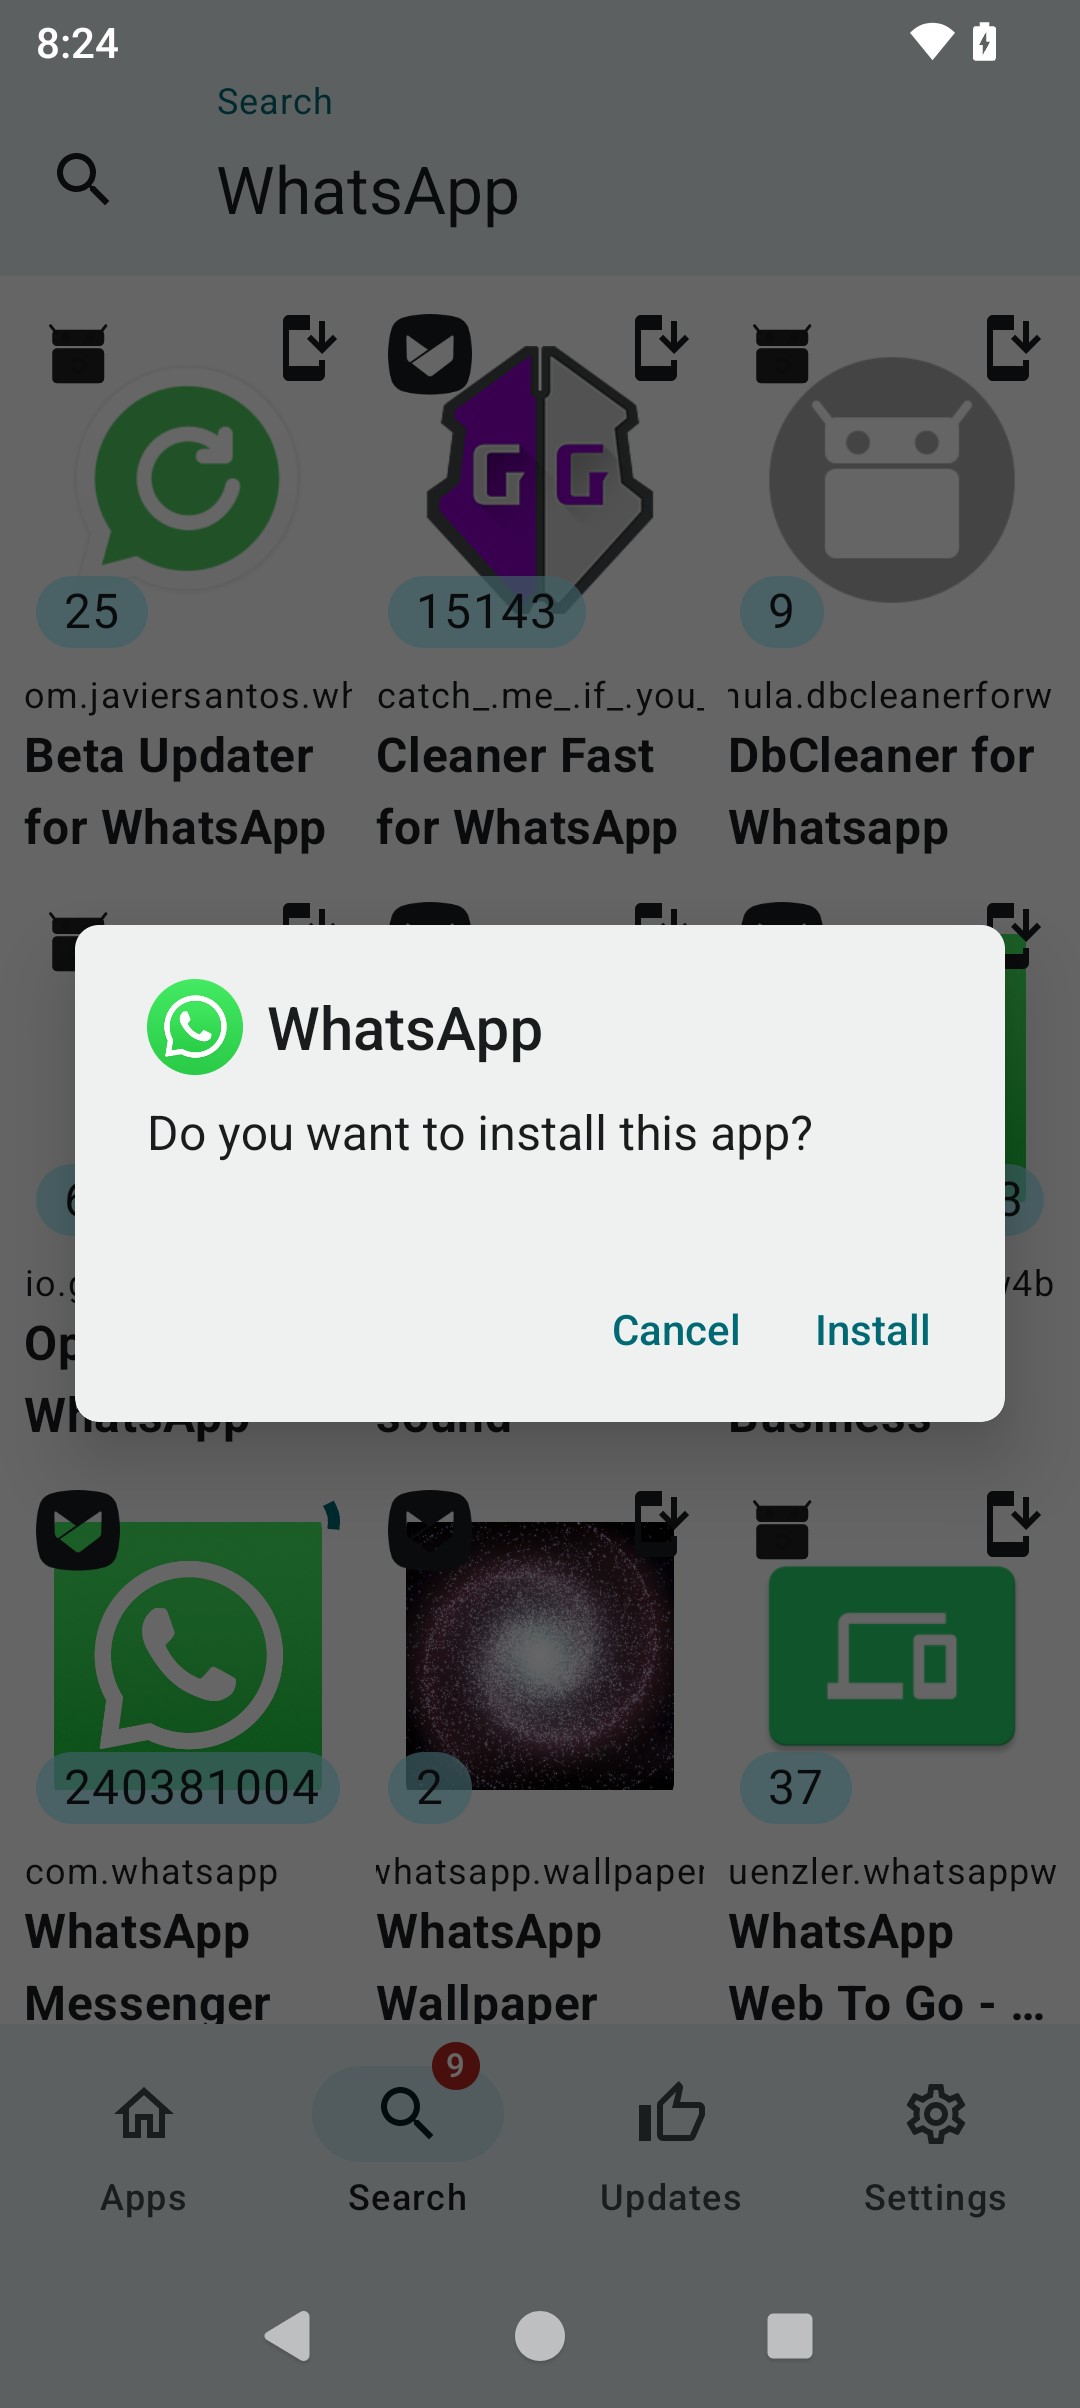
- Searching for new applications safely
- Searching for applications on the Internet and installing them
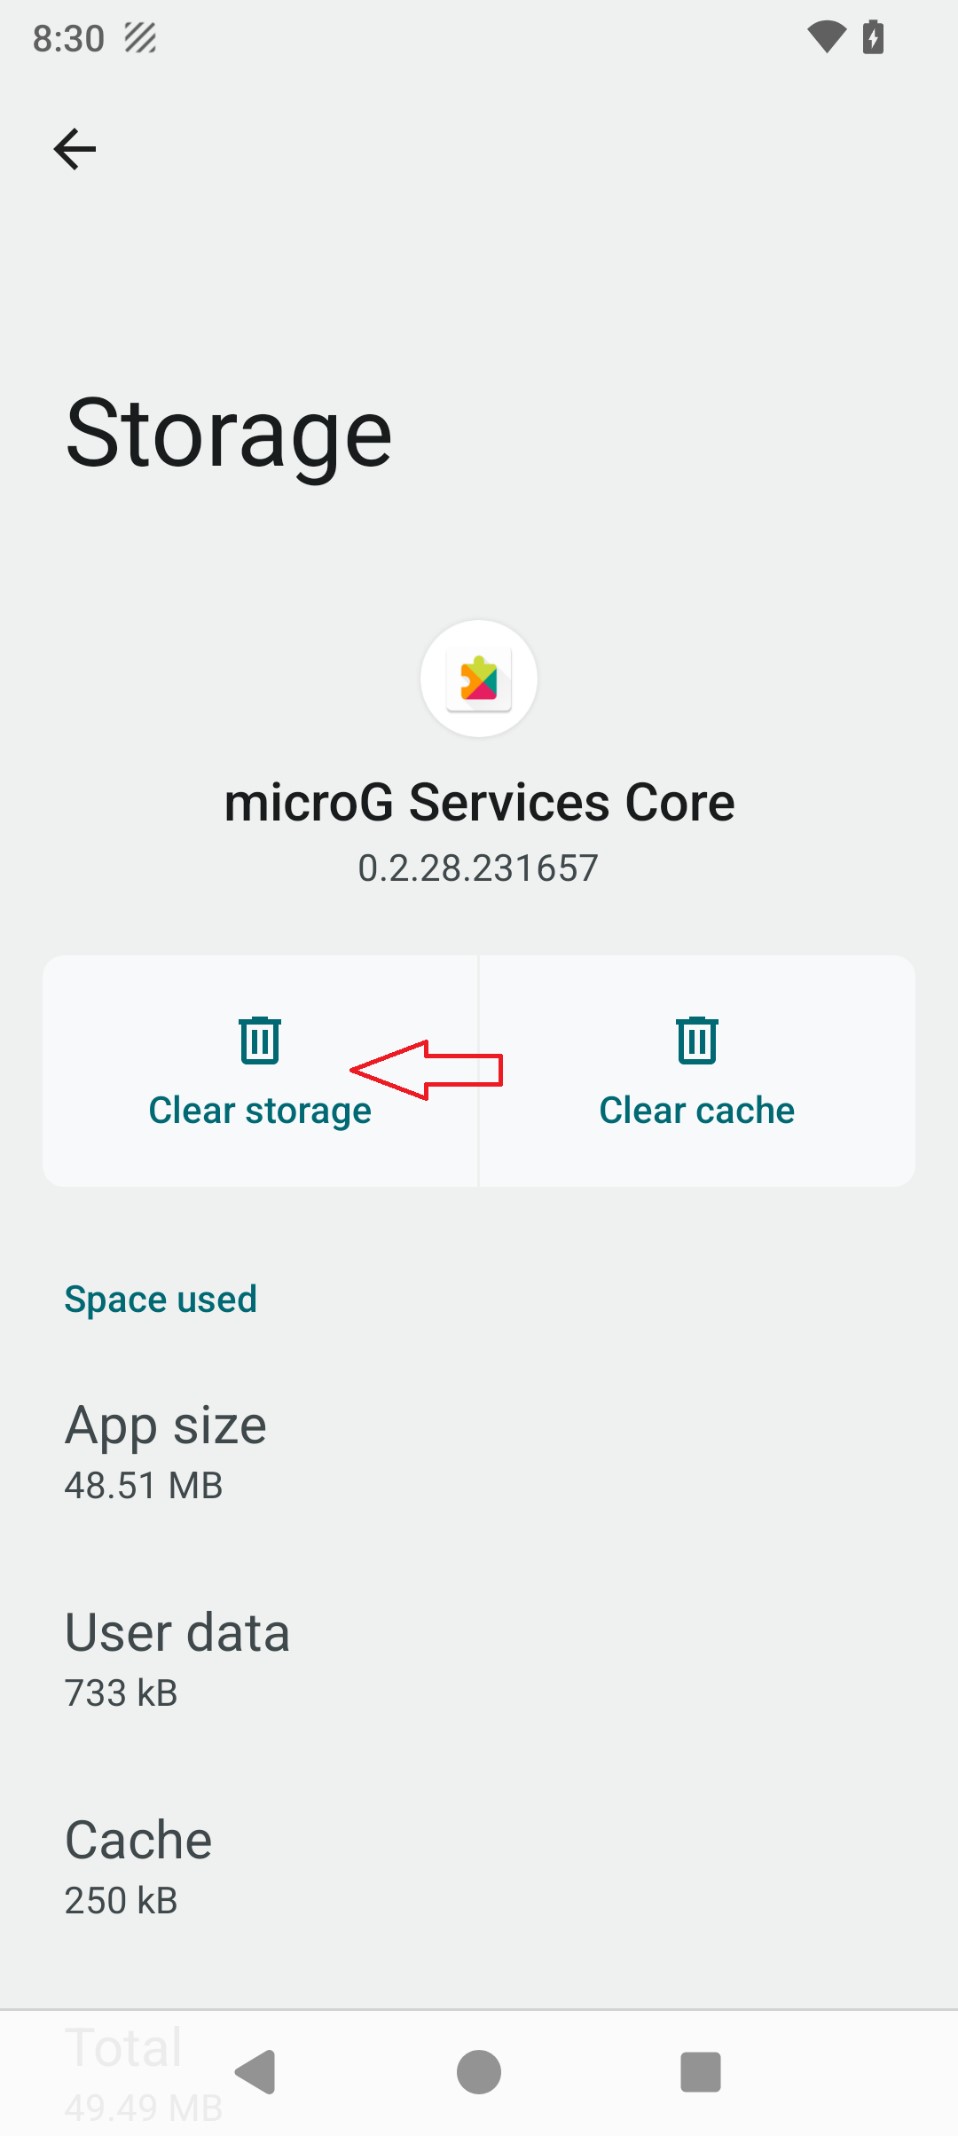
- MicroG module
1. Introduction, desktop and application menu
After turning on the phone for the first time and going through the initial setup, where you'll select the language and other settings, you will be on the desktop.
There you’re greeted by a clock widget, as well as a panel at the bottom with pinned application icons.
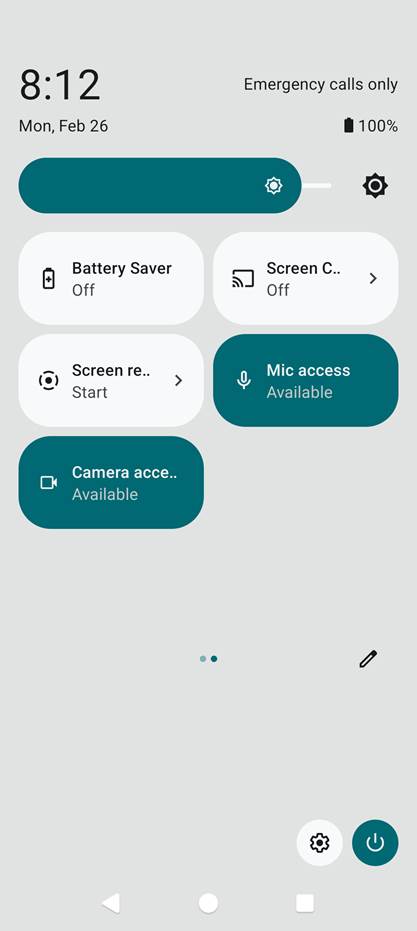
Swipe to the side to switch desktops. When you press the volume button, a menu with sound adjustment opens. At the top of this menu, an icon shows the current sound and vibration settings, and at the bottom the arrow allows you to expand the menu and adjust the volume of different operating modes, such as alarm, volume, ringtones and talk volume.
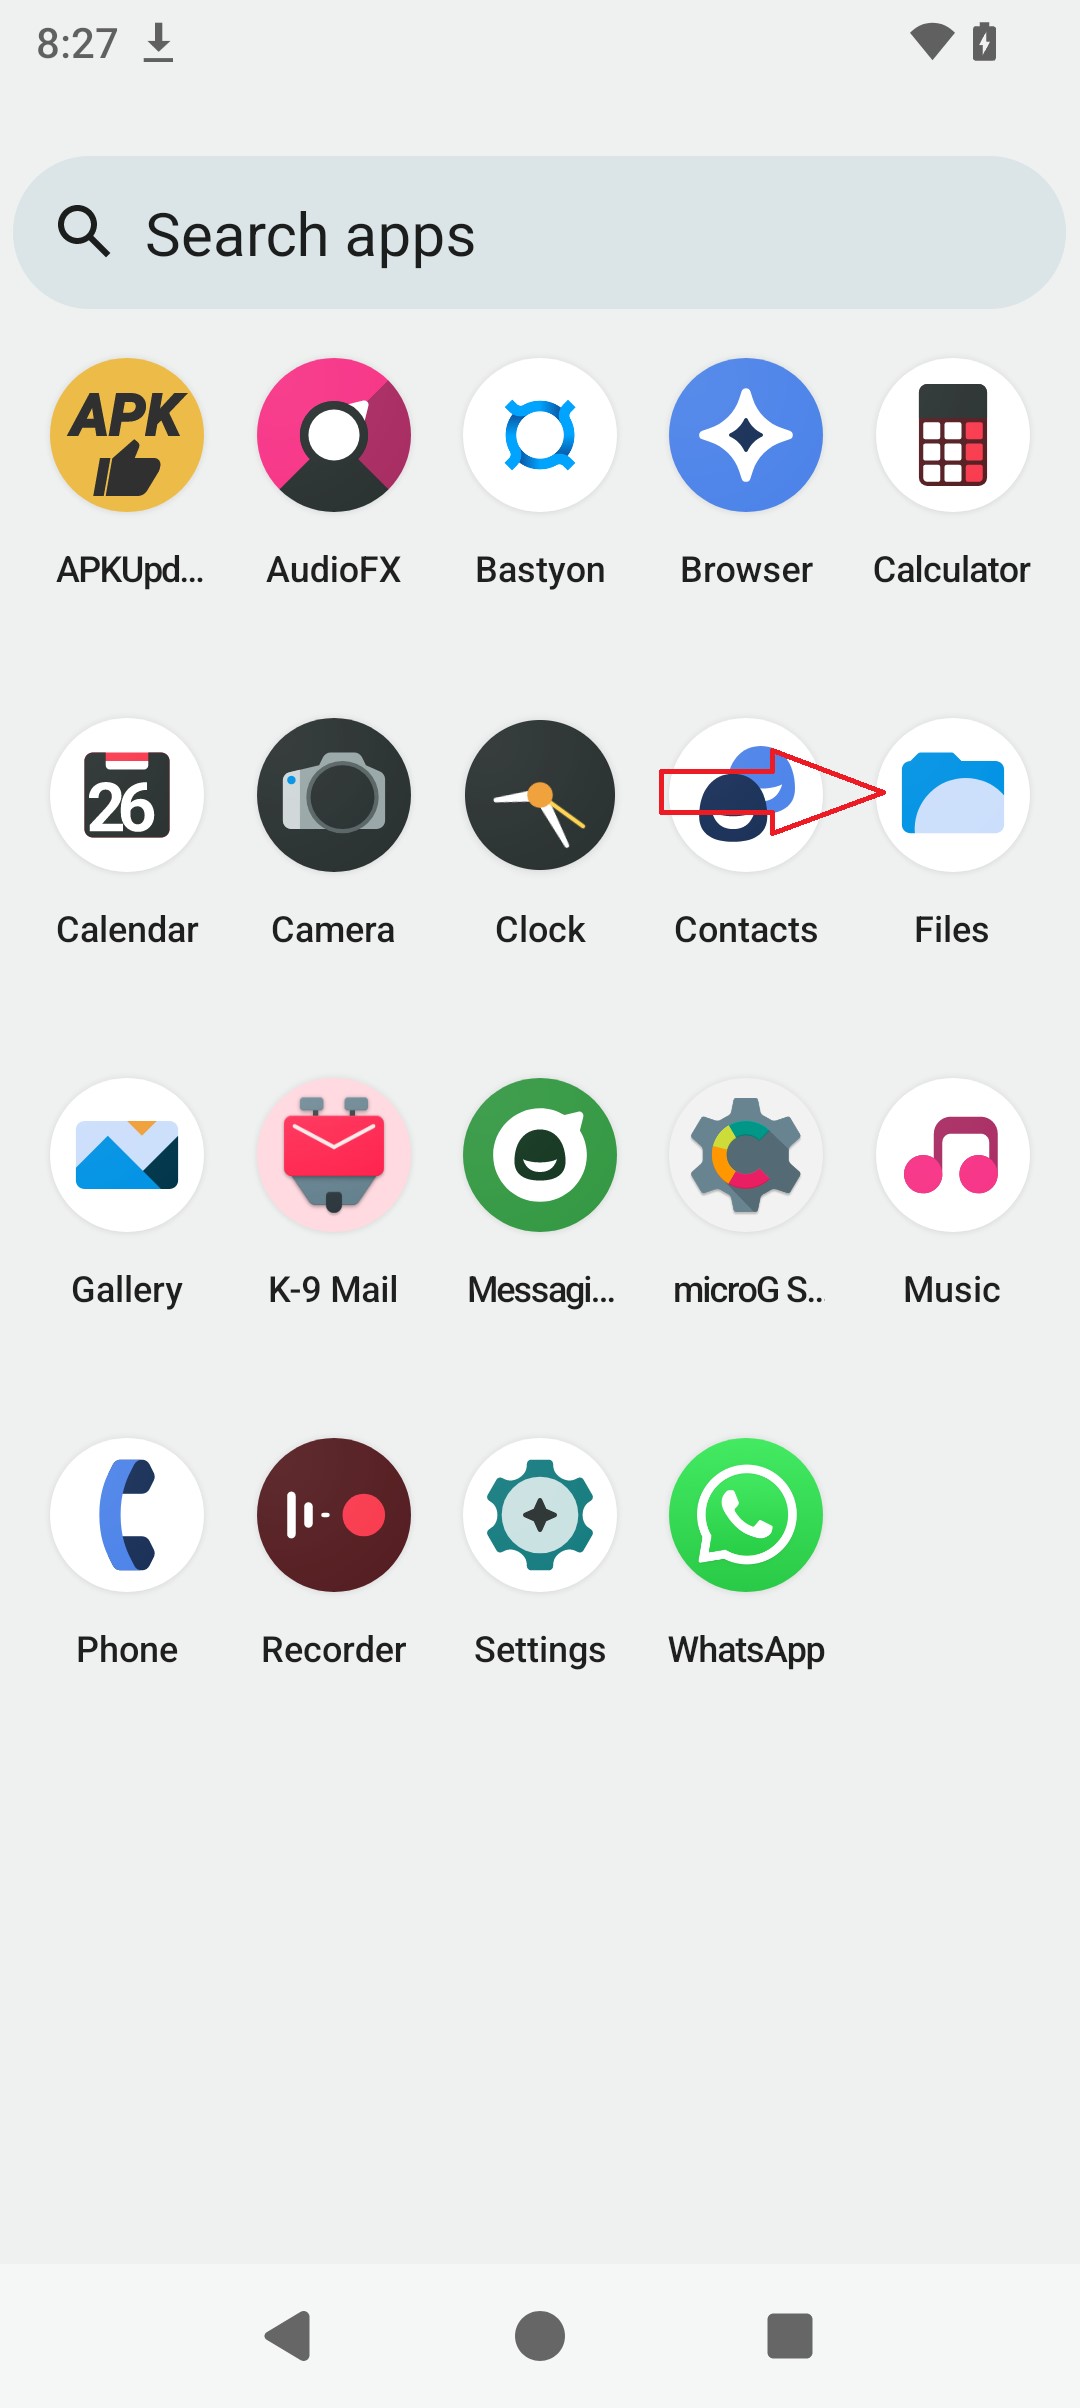
A swipe from the bottom opens a menu with all installed applications.
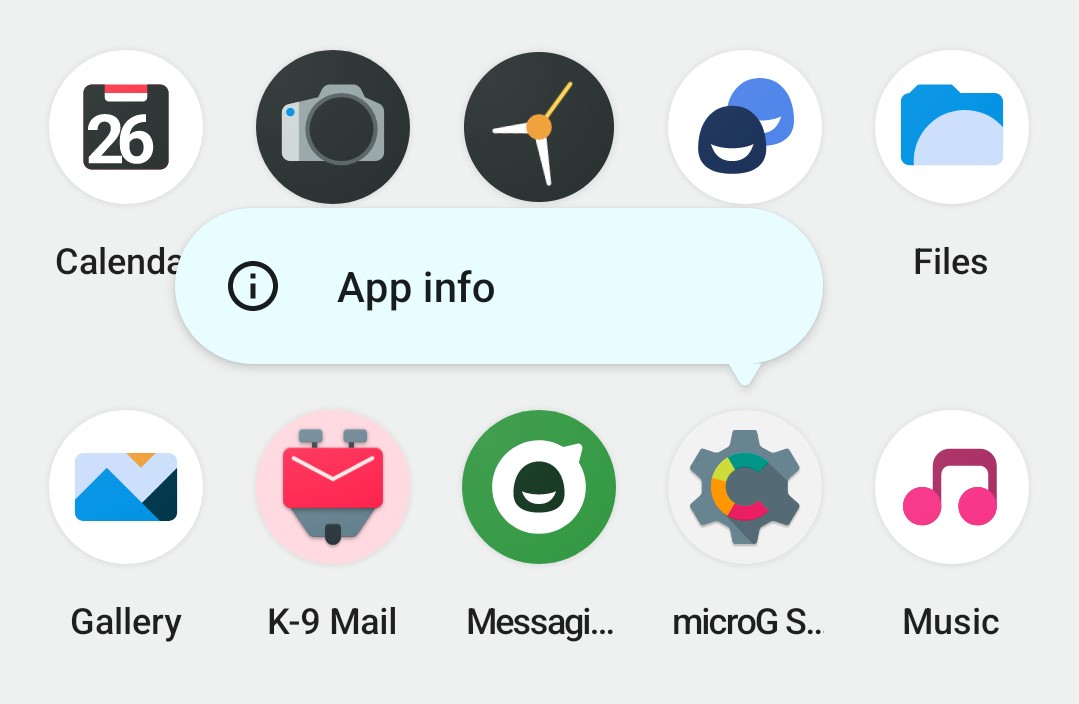
Long-pressing an application icon brings up a menu with additional actions for that application, and if you long press the application icon and move it, you can place the application shortcut on the desktop.
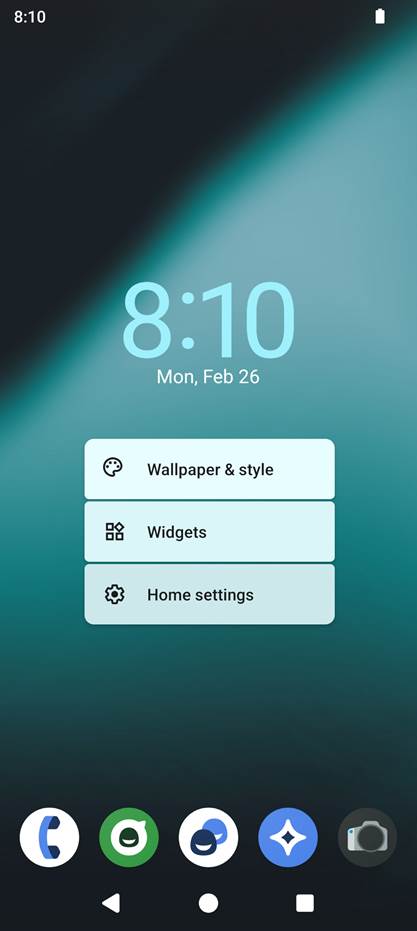
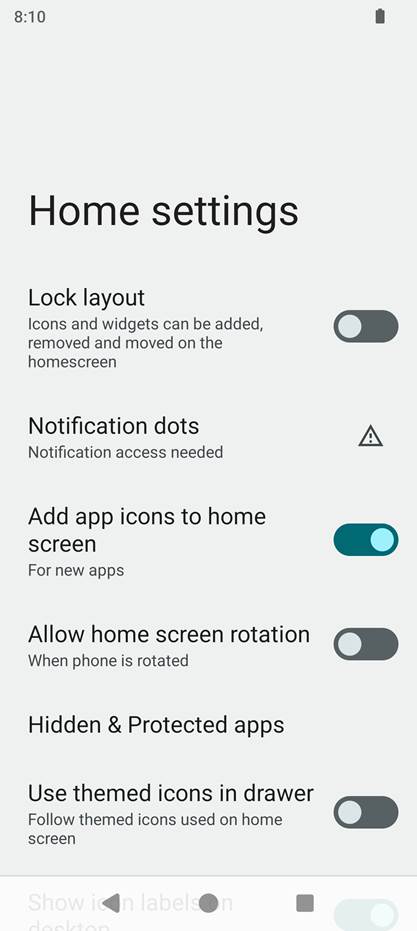
When you click on an element on the main screen, you can open an additional menu or move the element, or remove a shortcut from the desktop. With a long press on an empty area of the screen you can open a menu in which you can change the wallpaper, add new widgets and change the home screen settings.
In the “Wallpaper and Style” section you can change the colors of the wallpaper, apply a dark theme, and change the desktop icons to thematic ones that will match the colors of the selected theme. There are also other appearance settings here.
In the “Widgets” section, you can select available application widgets, and by long pressing on the selected element, bring it to the desktop and place it in the desired area of the screen.
There you’re greeted by a clock widget, as well as a panel at the bottom with pinned application icons.
Swipe to the side to switch desktops. When you press the volume button, a menu with sound adjustment opens. At the top of this menu, an icon shows the current sound and vibration settings, and at the bottom the arrow allows you to expand the menu and adjust the volume of different operating modes, such as alarm, volume, ringtones and talk volume.
A swipe from the bottom opens a menu with all installed applications.
Long-pressing an application icon brings up a menu with additional actions for that application, and if you long press the application icon and move it, you can place the application shortcut on the desktop.
When you click on an element on the main screen, you can open an additional menu or move the element, or remove a shortcut from the desktop. With a long press on an empty area of the screen you can open a menu in which you can change the wallpaper, add new widgets and change the home screen settings.
In the “Wallpaper and Style” section you can change the colors of the wallpaper, apply a dark theme, and change the desktop icons to thematic ones that will match the colors of the selected theme. There are also other appearance settings here.
In the “Widgets” section, you can select available application widgets, and by long pressing on the selected element, bring it to the desktop and place it in the desired area of the screen.